
A Step-by-Step Guide to Replacing Your Toilet Seat
Table of Contents
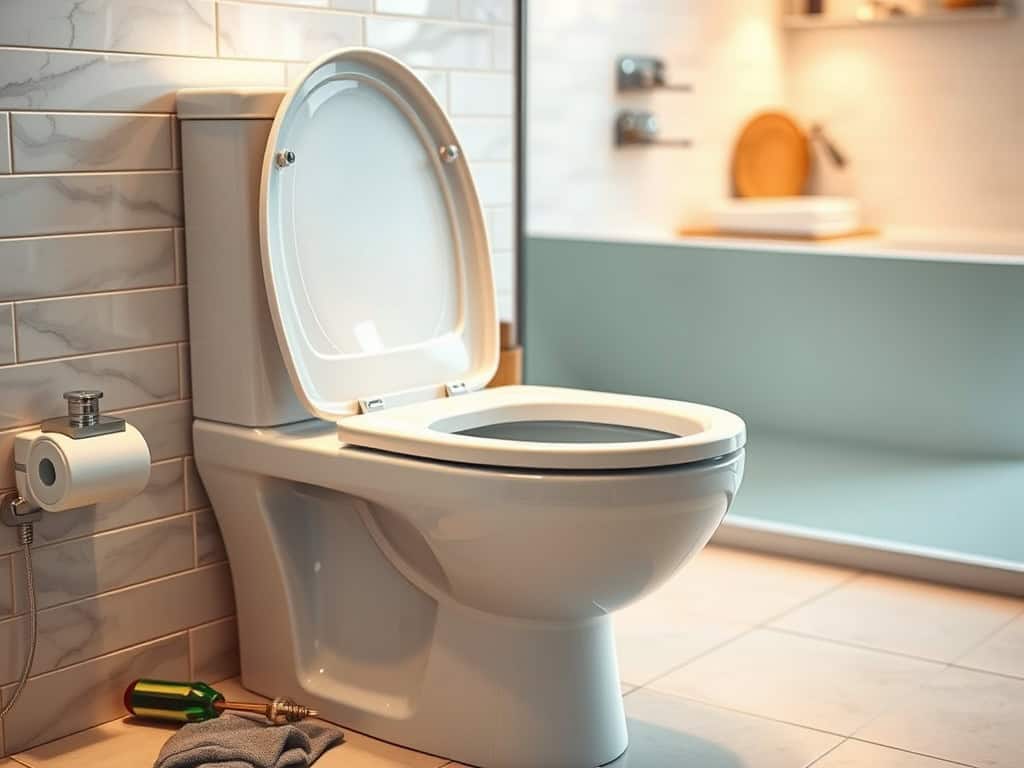
Are you tired of your old, worn-out toilet seat? Perhaps it’s time for a change! Replacing a toilet seat is a simple and cost-effective way to refresh your bathroom. Not only does it enhance the overall look of your space, but it also improves hygiene and comfort. In this blog post, we will guide you through the process of replacing your toilet seat, ensuring you can do it with ease. Plus, we’ll highlight some fantastic options from our catalogue that you can consider for your new seat.
Why Replace Your Toilet Seat?
Over time, toilet seats can become stained, cracked, or uncomfortable. A new toilet seat can provide a fresh look and feel to your bathroom. Additionally, modern toilet seats come with various features such as soft-close mechanisms, ergonomic designs, and easy-clean surfaces.
What You Will Need
Before you begin, gather the following tools and materials:
- A new toilet seat (check our catalogue for a variety of styles and colors)
- A screwdriver (flathead or Phillips, depending on your toilet seat)
- A wrench (if necessary)
- A cloth or sponge for cleaning
- Optional: rubber gloves for hygiene

Step-by-Step Instructions
1. Choose Your New Toilet Seat
- Start by selecting a new toilet seat that matches your bathroom decor. Our catalogue offers a wide range of options, from classic white to vibrant colors and stylish designs. Make sure to measure your toilet bowl to ensure a proper fit.
2. Remove the Old Toilet Seat
- Locate the bolts that hold the old seat in place. These are usually found at the back of the toilet bowl.
- Use your screwdriver to unscrew the nuts or bolts. If they are rusted or difficult to turn, a wrench may be necessary.
- Once the bolts are removed, lift the old seat off the toilet.
3. Clean the Toilet Bowl
- With the old seat removed, take this opportunity to clean the area around the toilet bowl. Use a cloth or sponge to wipe away any grime or stains. This will ensure a clean surface for your new seat.
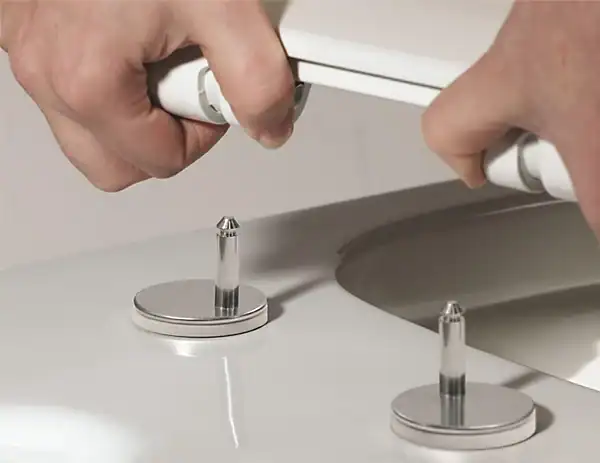
4. Install the New Toilet Seat
- Position the new toilet seat over the holes where the old seat was attached. Make sure it is aligned correctly.
- Insert the bolts through the holes of the new seat and into the toilet bowl.
- Secure the nuts onto the bolts from underneath the toilet. Use your screwdriver or wrench to tighten them, but be careful not to overtighten, as this can crack the toilet bowl.
5. Test the New Seat
- Once the new seat is securely in place, test it by gently pressing down on it. Ensure it feels stable and does not wobble.
- If it does wobble, check the bolts and tighten them as necessary.
6. Final Touches
- Clean the new seat with a gentle cleaner to remove any fingerprints or dust from installation.
- Dispose of the old toilet seat responsibly.
Conclusion
Congratulations! You have successfully replaced your toilet seat. This simple DIY project can make a significant difference in your bathroom’s appearance and comfort. If you’re looking for a stylish and durable toilet seat, be sure to browse our catalogue. We offer a variety of options that cater to different tastes and budgets, ensuring you find the perfect fit for your home.
Replacing a toilet seat is not just about aesthetics; it’s also about enhancing your bathroom experience. With our easy-to-follow guide and quality products, you can transform your space in no time. Happy renovating!


Add comment
You must be logged in to post a comment.