-
Table of Contents
- How to Fix a Leaking Tap in 16 Steps
- Step 1: Gather the Necessary Tools
- Step 2: Turn Off the Water Supply
- Step 3: Remove the Handle
- Step 4: Remove the Valve Stem
- Step 5: Replace the Washer or O-Ring
- Step 6: Reassemble the Tap
- Step 7: Turn On the Water Supply
- Step 8: Test the Tap
- Step 9: Clean Up
- Step 10: Check for Other Leaks
- Step 11: Check the Pressure
- Step 12: Check the Temperature
- Step 13: Check for Corrosion
- Step 14: Check for Blockages
- Step 15: Check for Leaks
- Step 16: Check for Wear and Tear
- Conclusion
How to Fix a Leaking Tap in 16 Steps

A leaking tap can be a nuisance, not to mention a waste of water. Fortunately, it’s a relatively easy problem to fix. In this article, we’ll provide a step-by-step guide on how to fix a leaking tap in 16 steps.
Step 1: Gather the Necessary Tools
The first step in fixing a leaking tap is to gather the necessary tools. You’ll need a wrench, a screwdriver, a pair of pliers, and a basin wrench. You may also need a replacement washer or O-ring or Spindle, depending on the type of tap you have.
Step 2: Turn Off the Water Supply
Once you have the necessary tools, the next step is to turn off the water supply. This is an important step, as it will prevent any further water damage. To do this, locate the main water shut-off valve and turn it off.
Step 3: Remove the Handle
The next step is to remove the handle of the tap. To do this, use a wrench to unscrew the handle. Once the handle is removed, you should be able to see the valve stem.
Step 4: Remove the Valve Stem
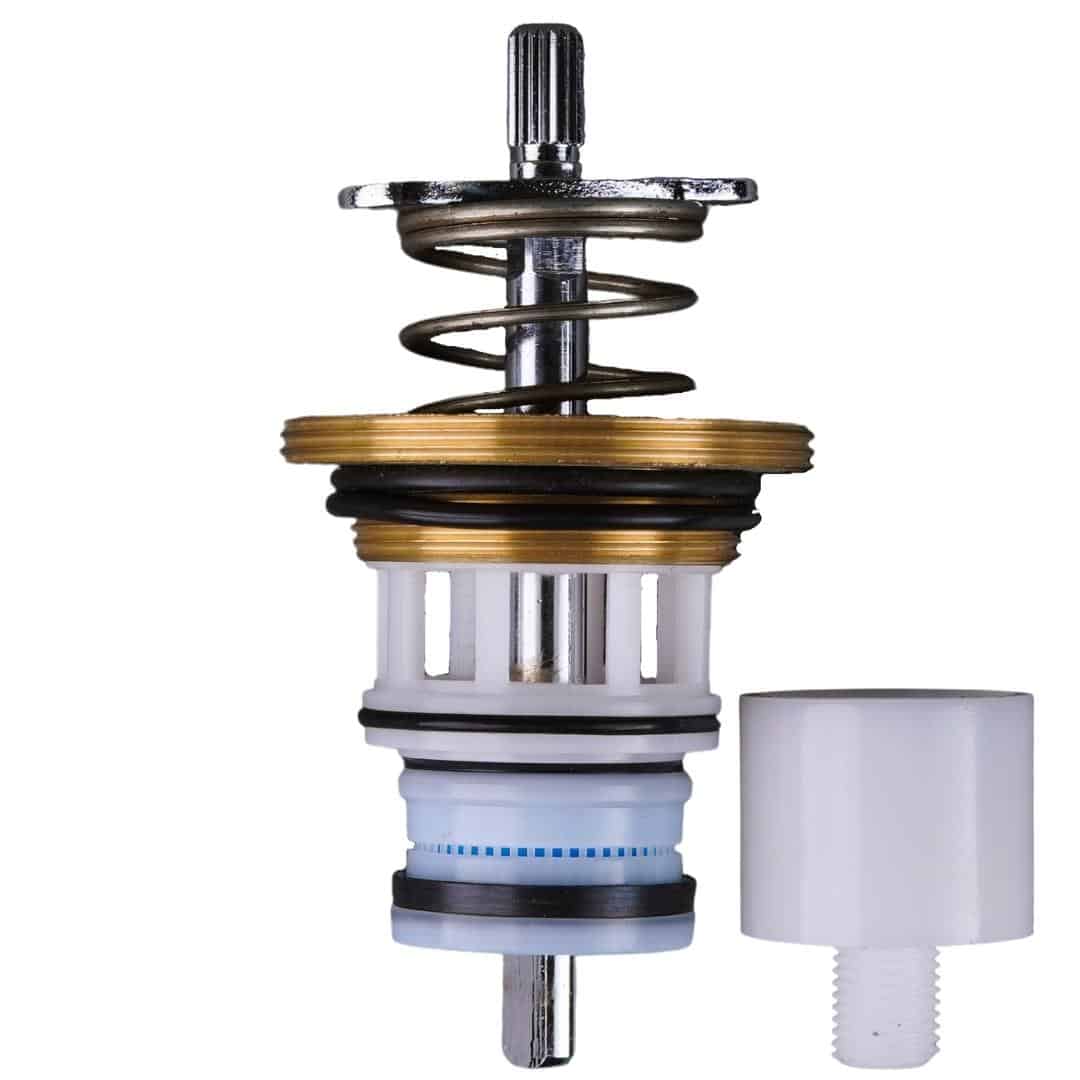
Now that the handle is removed, you can remove the valve stem. To do this, use a screwdriver to unscrew the valve stem. Once the valve stem is removed, you should be able to see the washer or O-ring.
Step 5: Replace the Washer or O-Ring
If the washer or O-ring is worn or damaged, it should be replaced. To do this, use a pair of pliers to remove the old washer or O-ring. Then, replace it with a new one.
Step 6: Reassemble the Tap
Once the washer or O-ring is replaced, you can reassemble the tap. To do this, use a basin wrench to reattach the valve stem. Then, use a wrench to reattach the handle.
Step 7: Turn On the Water Supply
Once the tap is reassembled, the next step is to turn on the water supply. To do this, locate the main water shut-off valve and turn it on.
Step 8: Test the Tap
Now that the water supply is turned on, you can test the tap. To do this, turn on the tap and check for any leaks. If there are no leaks, the tap should be fixed.
Step 9: Clean Up
Once the tap is fixed, the next step is to clean up. To do this, use a damp cloth to wipe away any dirt or debris. Then, use a dry cloth to dry the area.
Step 10: Check for Other Leaks
Once the area is cleaned up, you should check for any other leaks. To do this, turn on all the taps in the house and check for any leaks. If there are any leaks, they should be fixed as soon as possible.
Step 11: Check the Pressure
Once all the taps are checked for leaks, you should check the pressure. To do this, turn on the tap and check the pressure. If the pressure is too low, you may need to adjust the pressure regulator.
Step 12: Check the Temperature
Once the pressure is checked, you should check the temperature. To do this, turn on the tap and check the temperature. If the temperature is too low, you may need to adjust the temperature regulator.
Step 13: Check for Corrosion
Once the temperature is checked, you should check for corrosion. To do this, inspect the tap for any signs of corrosion. If there is any corrosion, it should be removed as soon as possible.
Step 14: Check for Blockages
Once the corrosion is checked, you should check for blockages. To do this, turn on the tap and check for any blockages. If there are any blockages, they should be removed as soon as possible.
Step 15: Check for Leaks
Once the blockages are checked, you should check for leaks. To do this, turn on the tap and check for any leaks. If there are any leaks, they should be fixed as soon as possible.
Step 16: Check for Wear and Tear
Once the leaks are checked, you should check for wear and tear. To do this, inspect the tap for any signs of wear and tear. If there is any wear and tear, it should be repaired or replaced as soon as possible.
Conclusion
Fixing a leaking tap is a relatively easy task that can be done in 16 steps. The first step is to gather the necessary tools, followed by turning off the water supply. Then, remove the handle and valve stem, replace the washer or O-ring, and reassemble the tap. After that, turn on the water supply and test the tap. Finally, clean up, check for other leaks, check the pressure and temperature, check for corrosion and blockages, and check for wear and tear. Following these steps should help you fix a leaking tap quickly and easily.
Fixing a leaking tap is easy and can be done in 16 simple steps. Follow these steps and you’ll have a functioning tap in no time. Don’t wait any longer, buy the necessary spindle and get started now!


Add comment
You must be logged in to post a comment.